
Injection Molding
Precision Filling Stage
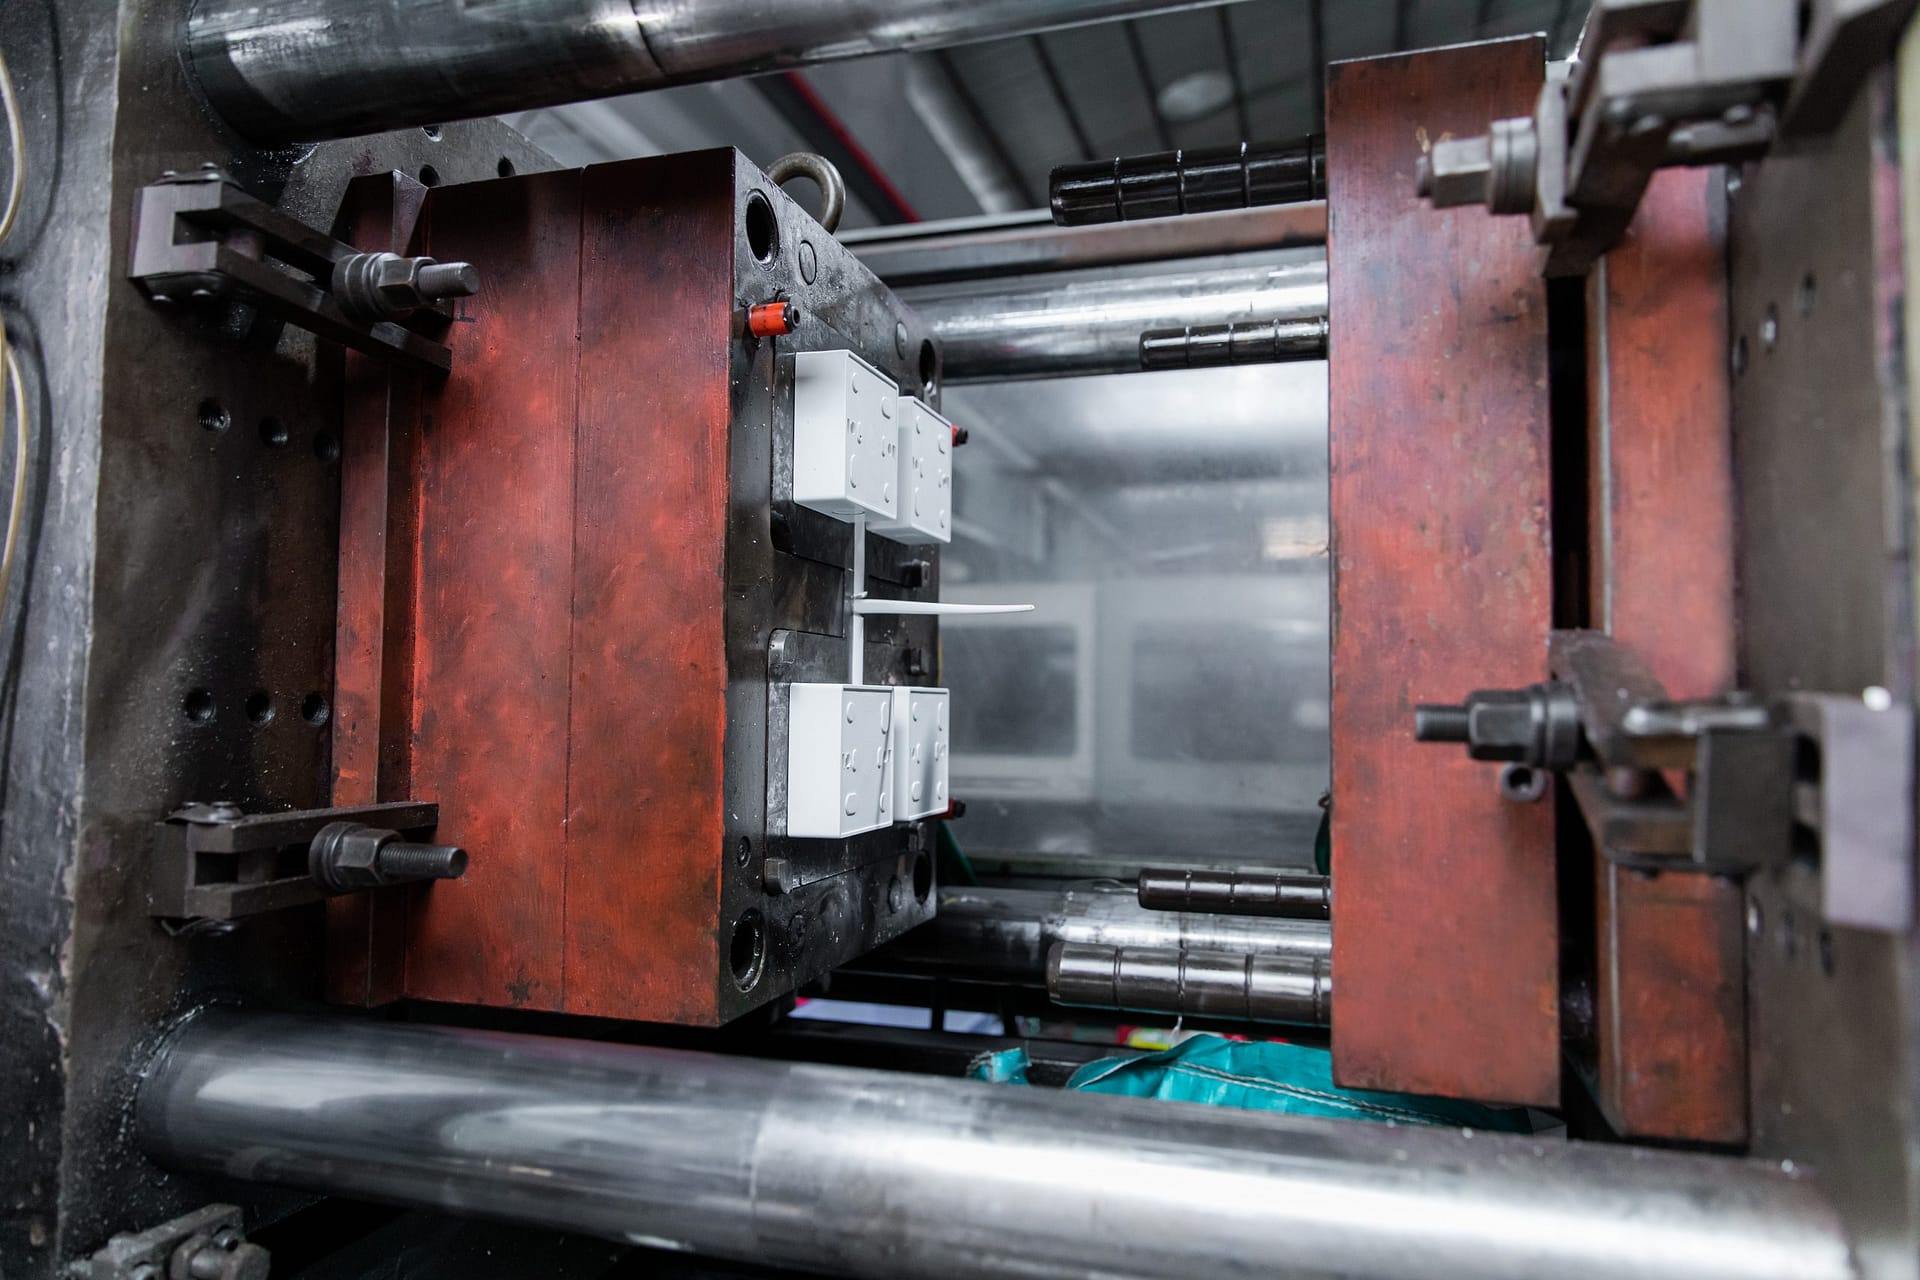
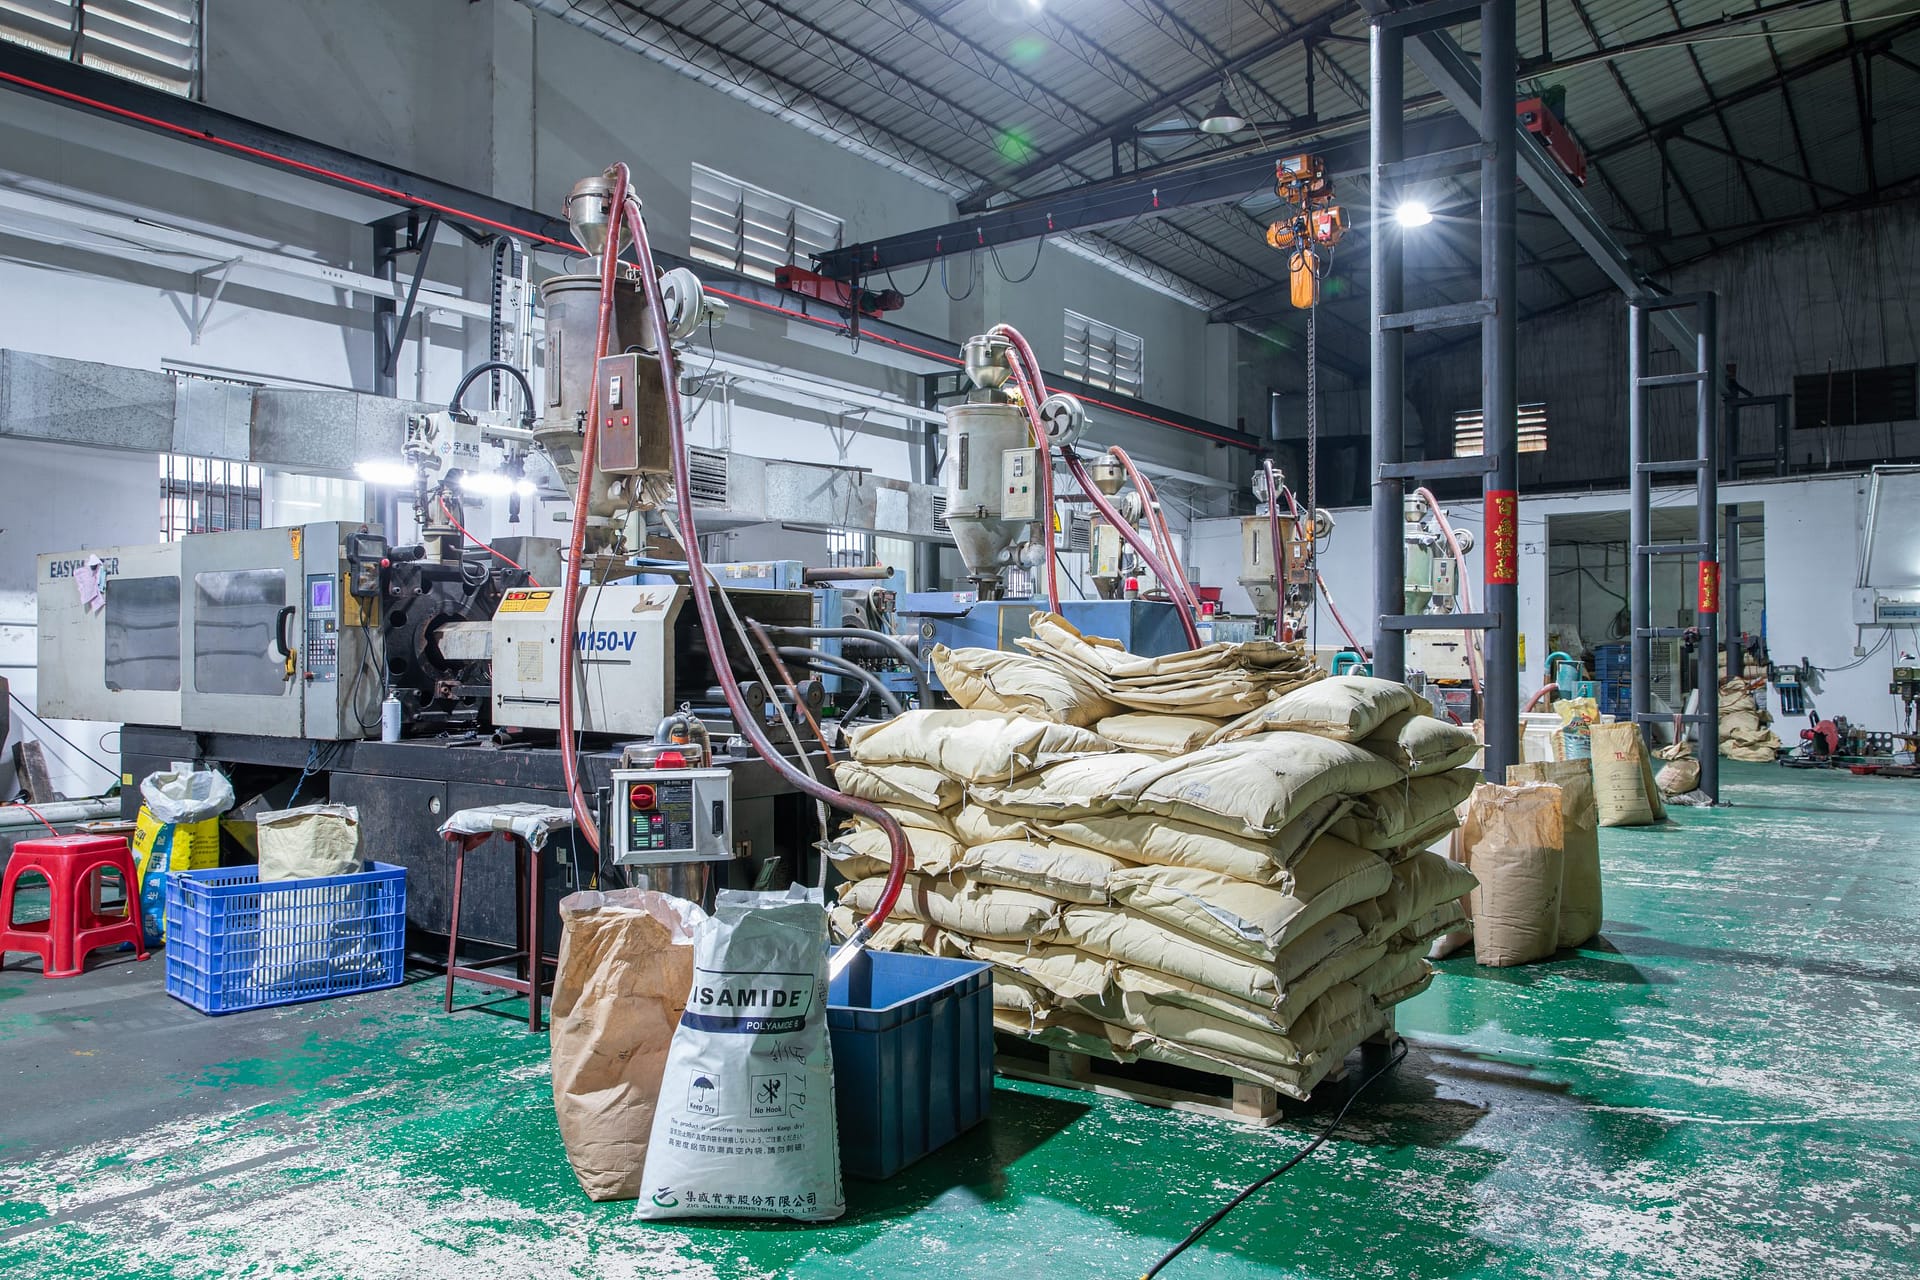
Plasticised material is injected into the mould cavity to form the part. Injection speed and pressure depend on the material, mould and part geometry.
Holding Pressure
After filling, holding pressure helps compensate for shrinkage as the material cools. Holding pressure and time depend on the selected material, mould and part geometry.
Controlled Cooling
Almost immediately after the injection process, we cool down the formed PVC product from the molten plastic. This process allows the material to retain its shape as it shrinks and solidifies in its appropriate form.
Logo Carving
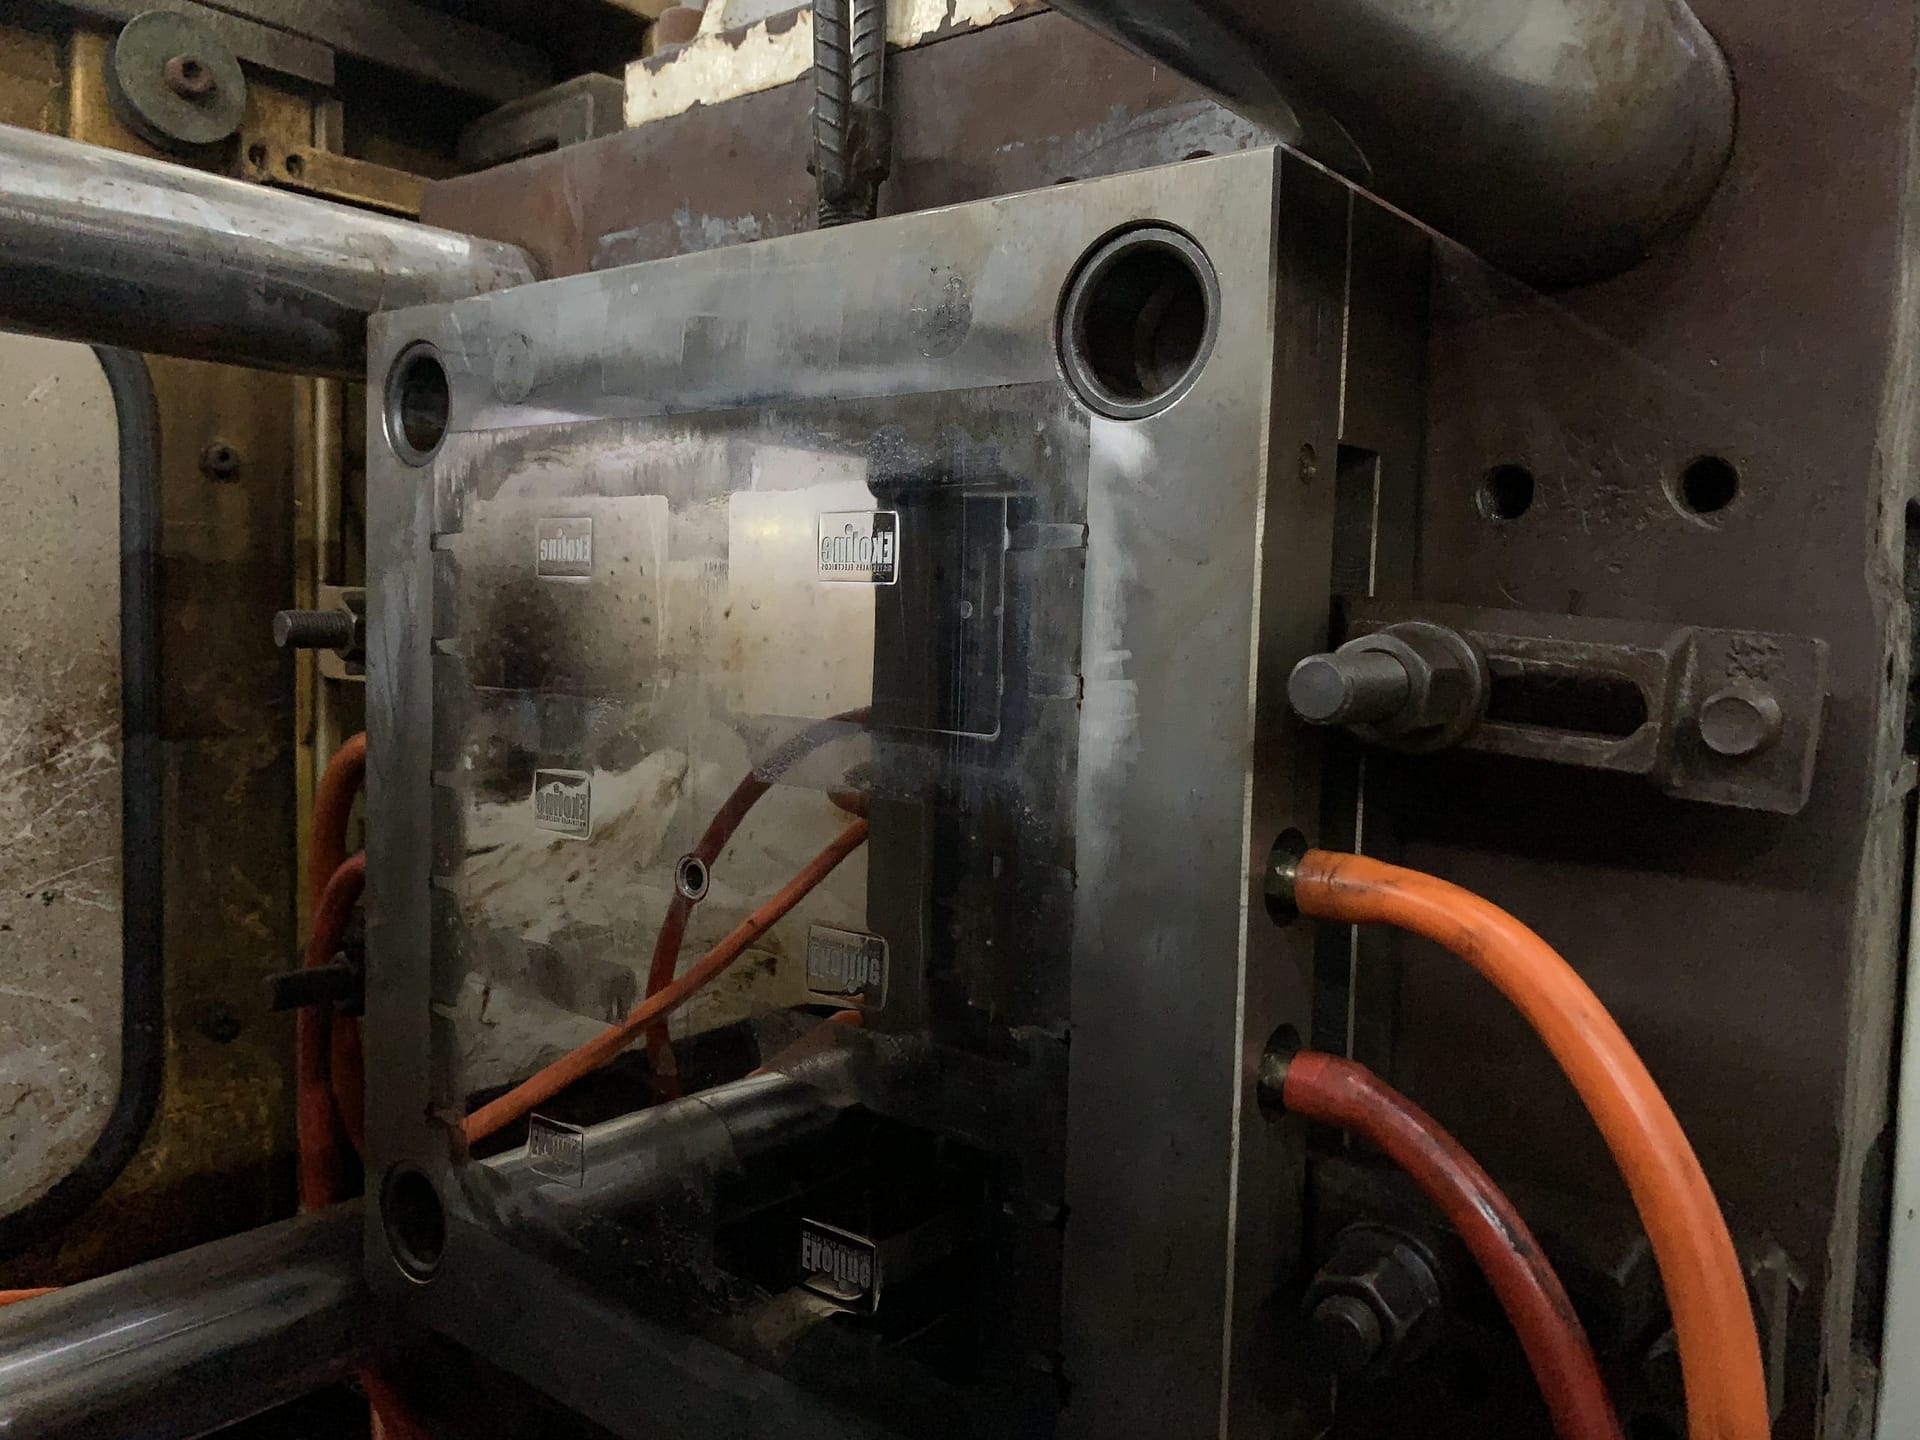
Engraved logos and designs add a fantastic texture to your pvc-u trunking products, which have a higher chance of leaving a lasting impression on your audience. With diverse molds, our designers and manufacturers can create distinctive designs on the surface of your plastic products efficiently and with precision.
Send us your logo and the letter of authorization for using the logo, let Budgie’s seasoned design team assist you in creating impactful logo carving.
Efficient Ejection
After the material has cooled for a specific period, the injection molding machine opens the clamped molds and pushes the product out from the cavity. A sufficient amount of force is used to efficiently remove the product from the mold without breaking it. Through our ejection process, we avoid creating cracks and other defects on the product.
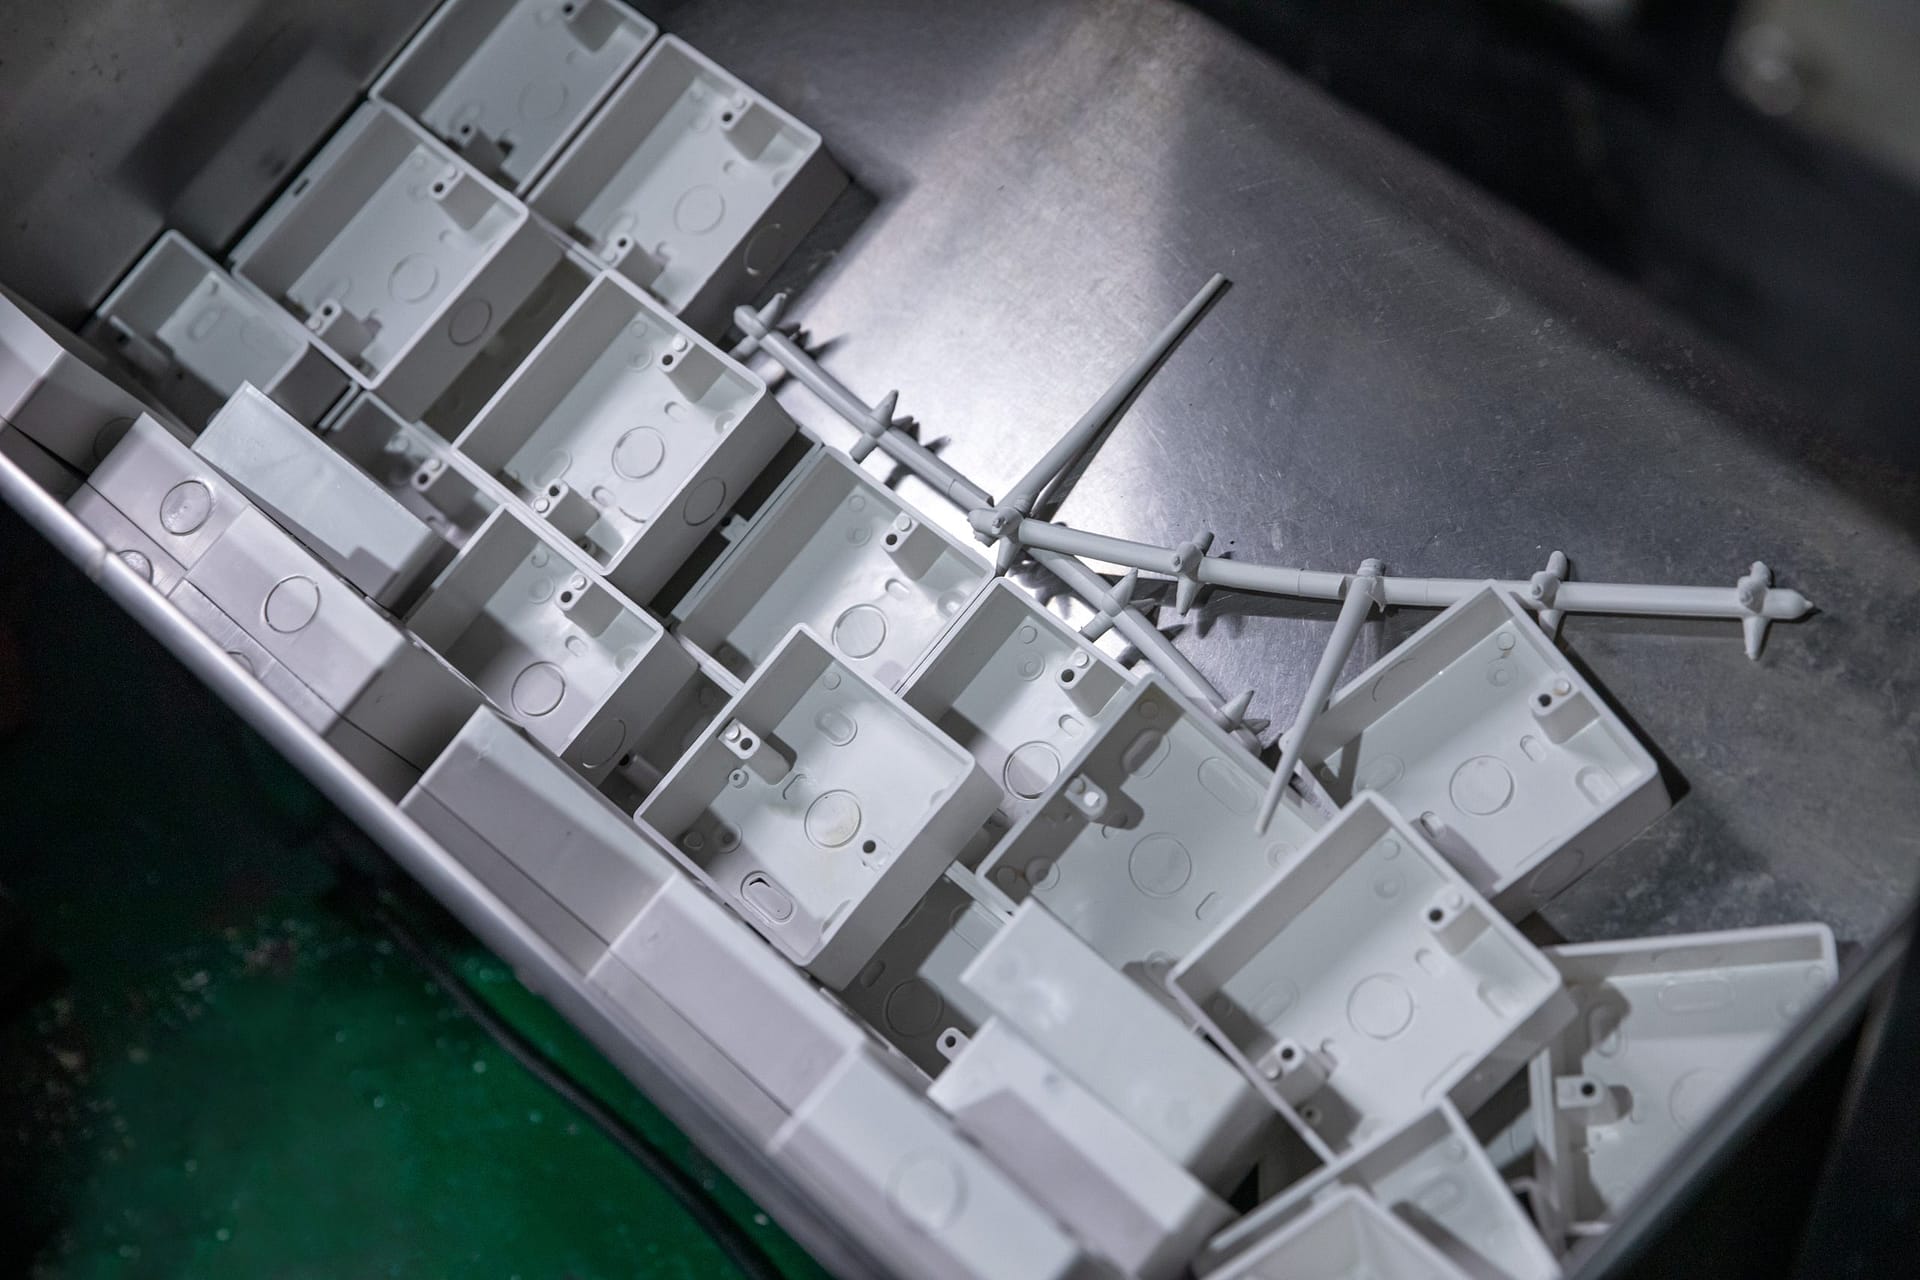
Key Injection Moulding Process Parameters
01
Injection Pressure
Injection pressure is adjusted to fill the cavity. Flash and sink marks are checked as separate moulding defects, together with other agreed acceptance criteria.
02
Injection Time
Injection time is selected for the mould and part geometry. Filling, holding and cooling are separate stages of the moulding cycle.
03
Holding Pressure
Holding pressure and time are set for the selected material, mould and part geometry to compensate for shrinkage. Confirm the settings with the production team.
04
Injection Temperature
Processing temperature is selected for the material and moulding conditions. Confirm the required temperature range with the production team.
05
Clamping Force
Clamping force holds the mould closed during filling and holding. It is selected for the mould, projected area and process pressure.
06
Back Pressure
Back pressure is adjusted during plasticising to support melt preparation and mixing. The setting depends on the material and process requirements.
Talk to our engineers about your project.
Get a Quote